|
Now let's start with the install
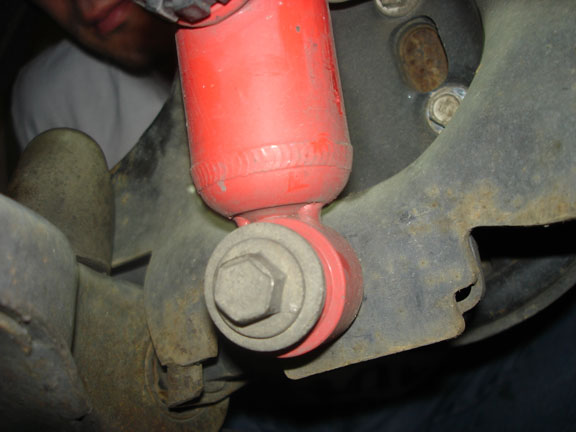
- Remove the grease cap with a shisle.
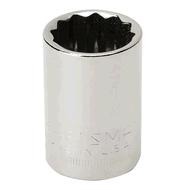
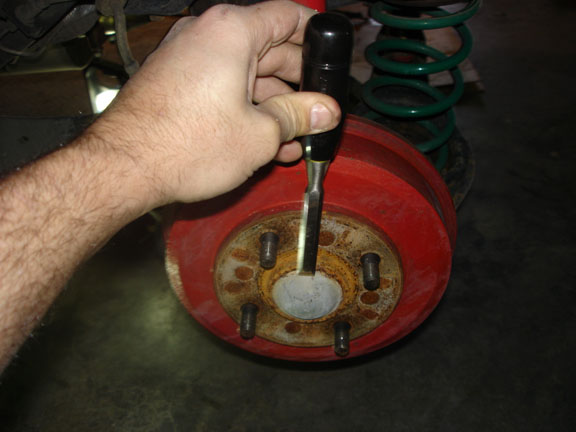 - After removign greade cap, use a 30mm socket to remove the pressure nut, using a braker handle.
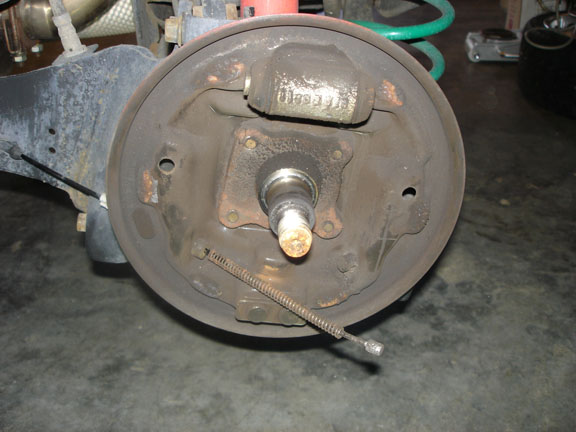
 - Now remove the drum
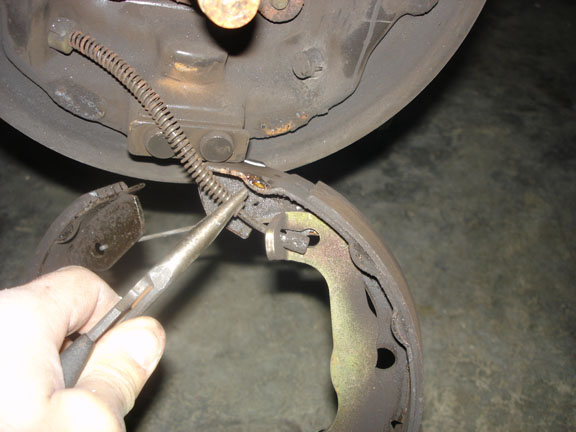
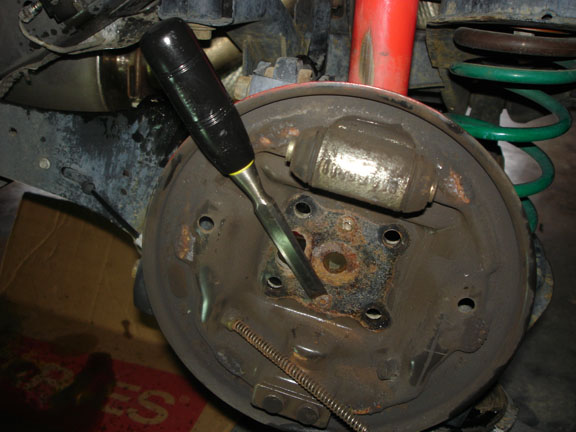
 - Now remove the two clips to release the brake shoes
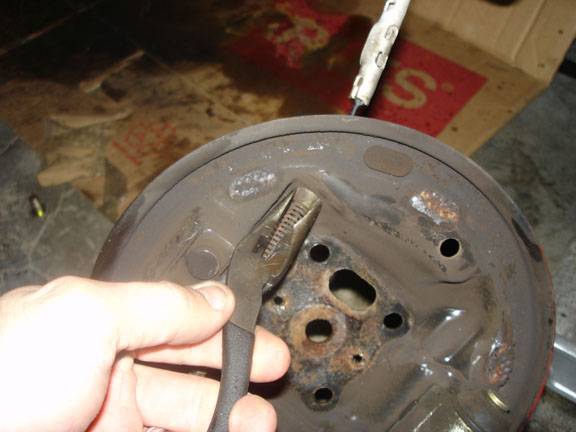
 - Now remove the e-brake cable from the brake shoe.
 - Now you are reade to start removing the spindle
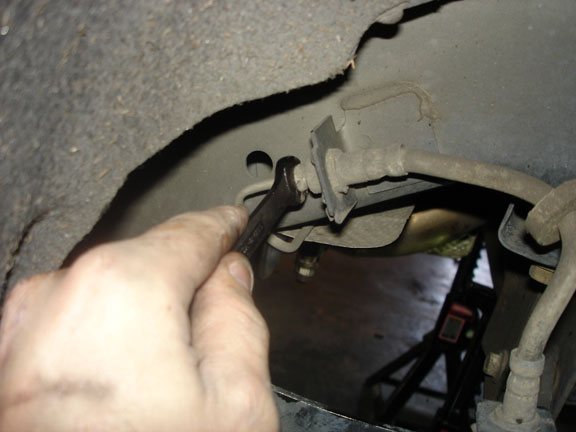
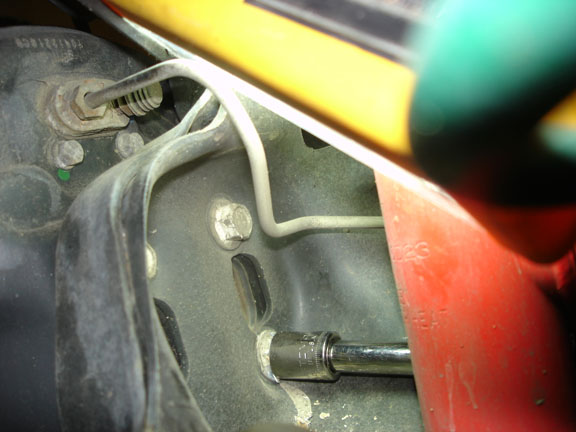
 - Now remove the brake line from the back plate using a 11mm open wrench.
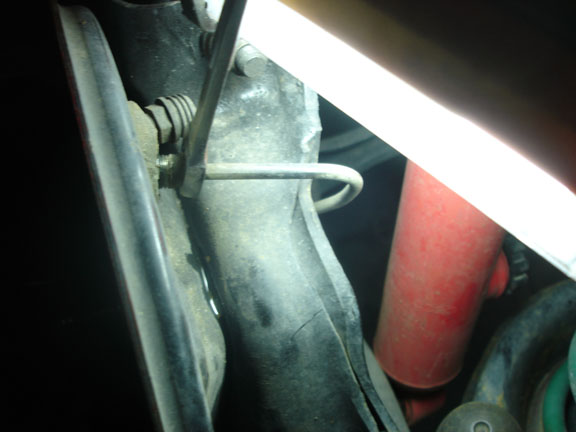 - Now remove the brake line from the lower arm using a 11mm open wrench and to pull the clip just use pliers.
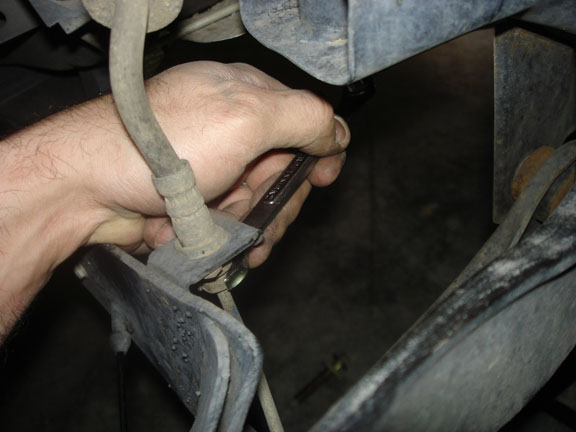 - Now remove the brake line from the chasis using a 11mm open wrench and to pull the clip just use pliers.
 - Remove the bolt that holds the shock to make it easier when loosing the bolts holding the spindle. With a 15mm Socket.
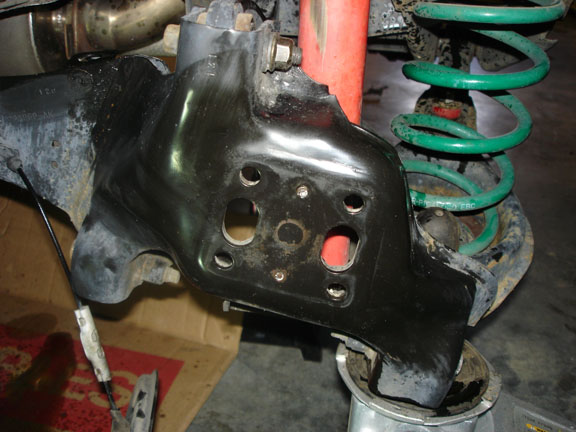
 - Now lets remove the spindle, It's 4 bolts size 13MM.
 - Now to remove the plate lets remove the spindle, It's 4 bolts size 13MM.
 - After removing the back-plate just clean the area and make sure those rivet are flush with the arm..
 - Now remove the e-brake cable from the plate using pliers.
 - You can try to remove the connector without cutting, i tried but no luck , so i cut it with pliers.
 - Remove the e-brake cable from the lower arm, by un-bolting the side bracket using a 7mm socket.
Save the bolt since you will re-use it for the new e-brake cable.
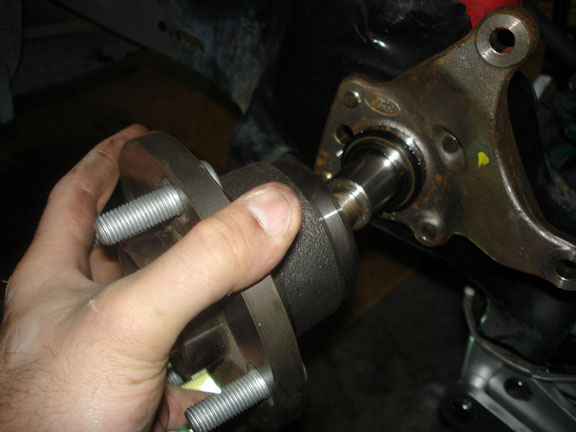
 - Now install the new spindle with the same 4 bolts that held the drum spindle. Socket Size=13MM
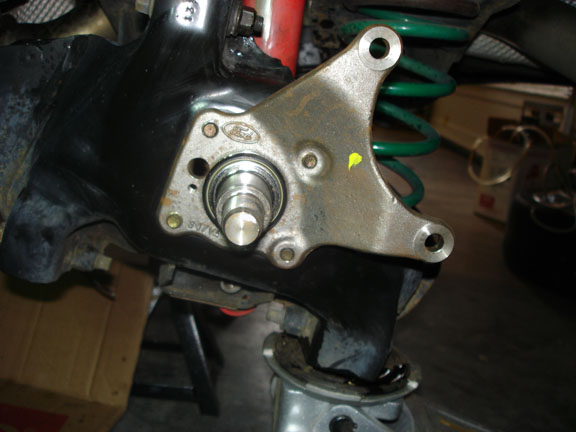 - Now install the new hub.
 - Now install the new pressure nut.
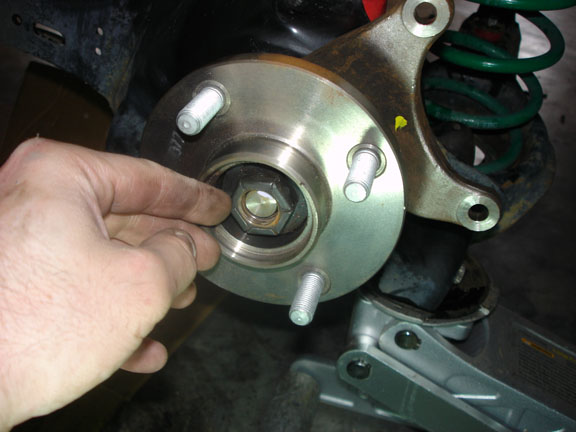 - Now make sure is tight. (This pressure nut can only be re-use 3 times)
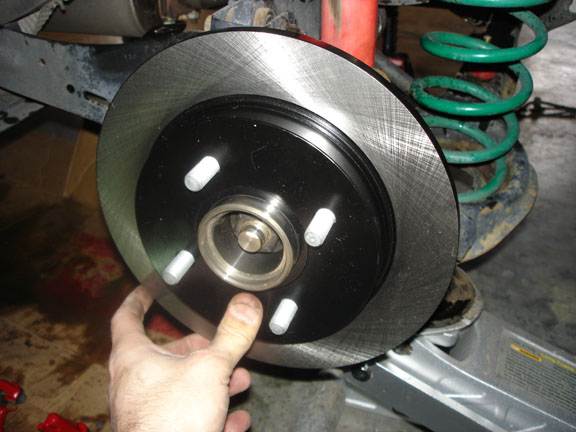
 - Now install the disc.
 - Now install the caliper bracket with 2 bolts and tighten with an allen wrench size 6mm.
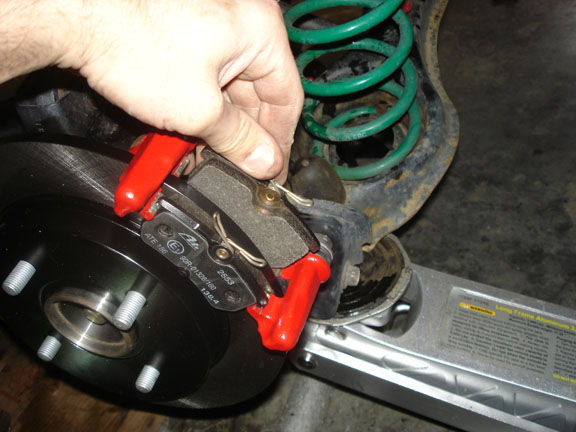
 - Now install the brake shoes.
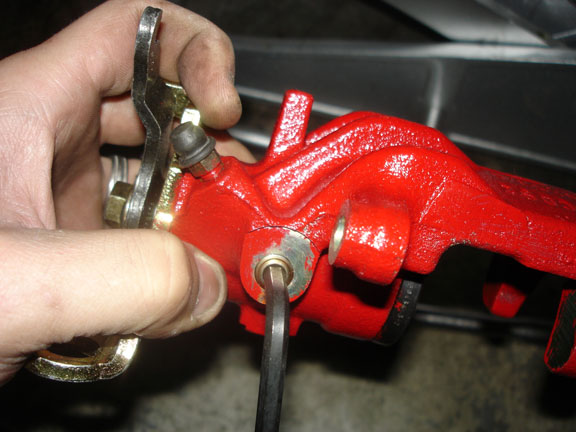
 - Now remove the screw that came in the caliper using a 5mm allen wrench.
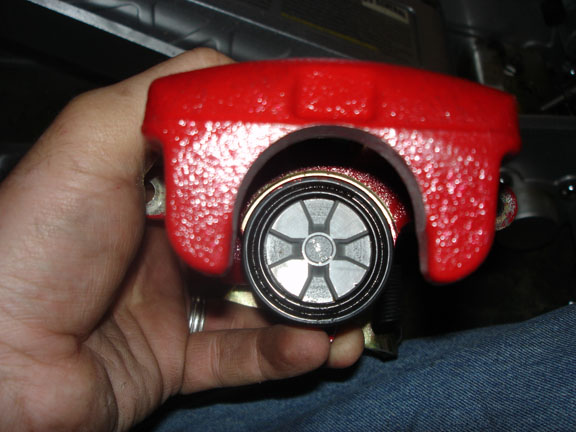
 - Make sure that the cylinder is align with the gap in the middle facing down. (see picture below)
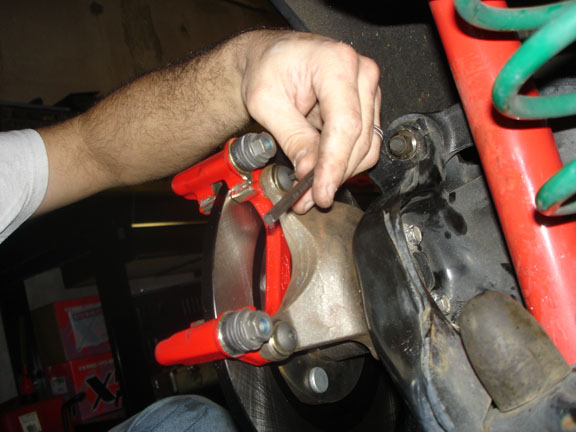
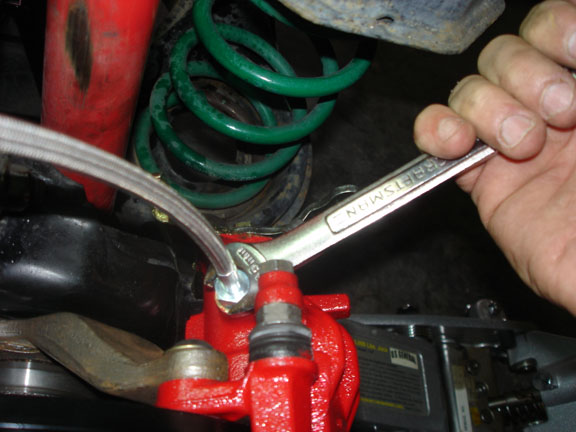
 - Now tight the caliper with a 1/2 inch socket and a 15mm open wrench.
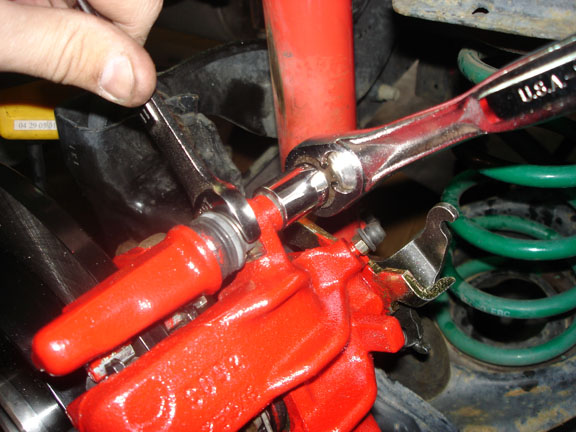 - Now tight the stainless steel line with a 15mm open wrench.
 - This is a look of the brake line install.
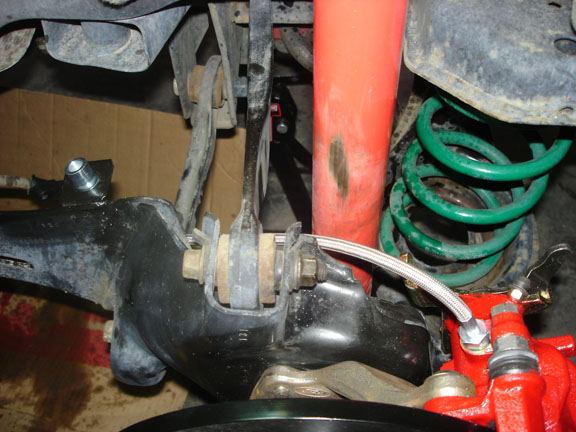 - Now install the second part of the brake line install and make sure the clip is in place. (The SS line has a loop because F2 send me the wrong ss Line).
Now we are ready to install the e-brake cable.
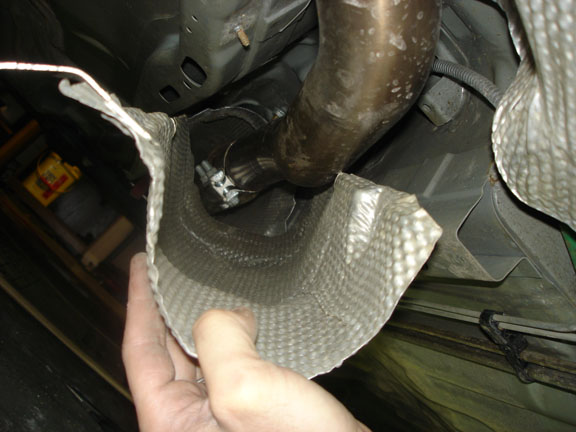
- We neeed to remove the heat shield to be able to remove the e-brake cable from the bridge connector.
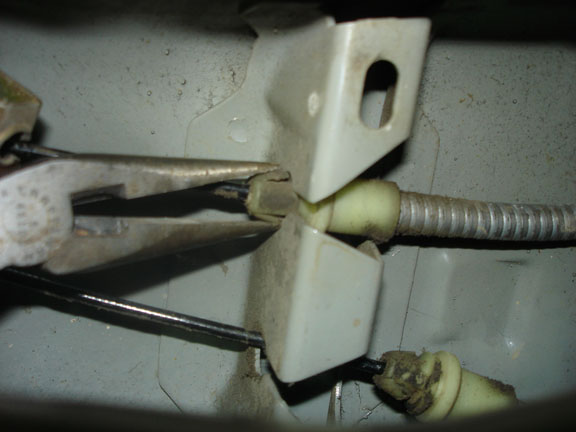
remove the nut with pliers. (see picture below) - there are 4 total.
 - Remove the 2 nuts shown on the picture below.
 - Remove the 2 nuts shown on the picture below.
 - Remove the heat shield.
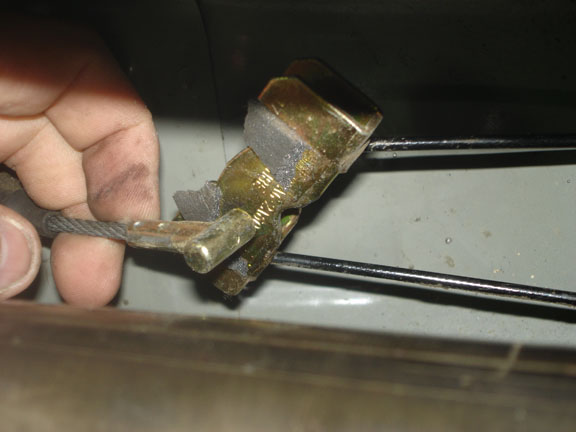
 - Now remove the e-brake cable from the linkage connector.
 - Now remove one nut that to be able to remove the e-brake cable for the passanger side.
 - After removing the nut , now you can remove the e-brake cable just pull from the clip, just be careful not to brake the plastic clip. This is the driver side e-brake cable.
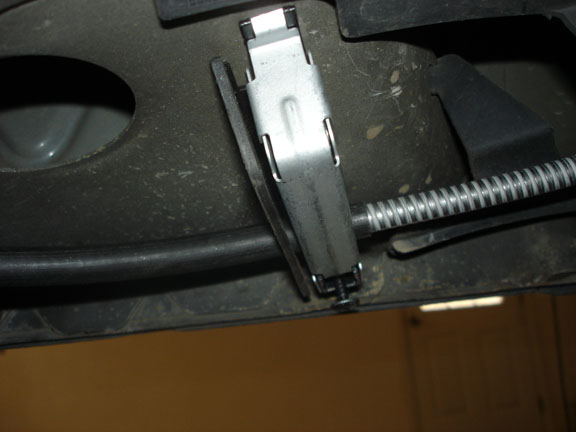
 - Using a phillips screw driver remove the e-brake cable guard.
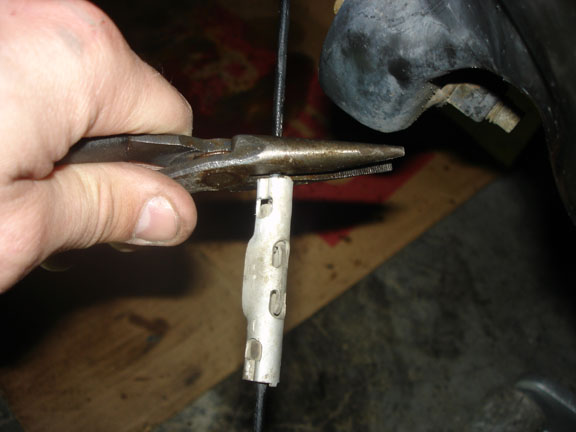
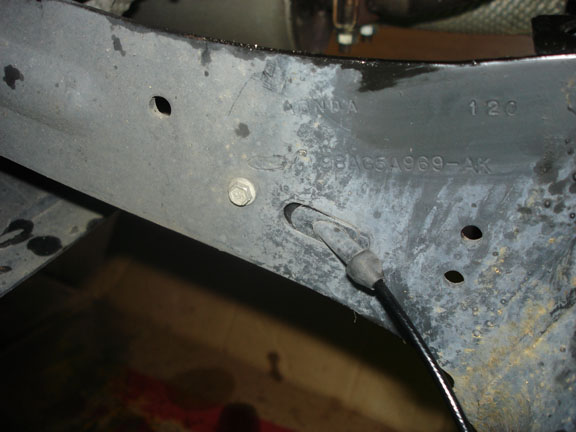
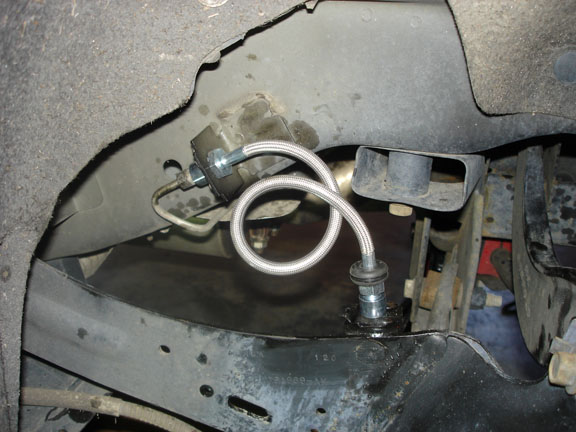
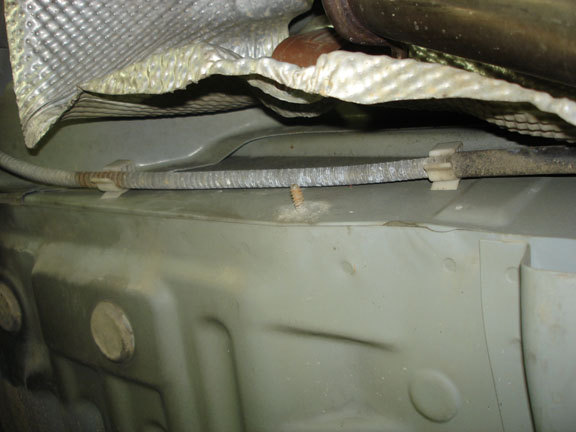
 - Now using pliers, remove the e-brake cable from the chassis (see picture below).
 - The e-brake cable with the green goes toward the passenger side. Now you can start installing the new cable.
 - The e-brake cable just attache the same way it got remove. Tight the clip with a phillips screw driver.
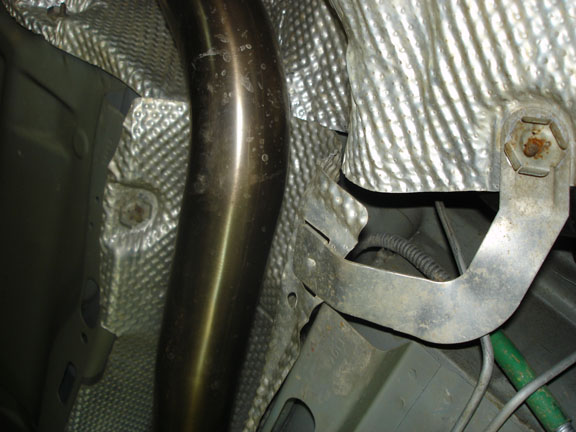
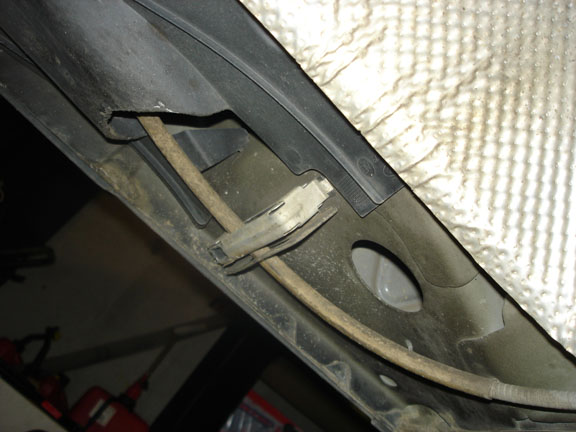
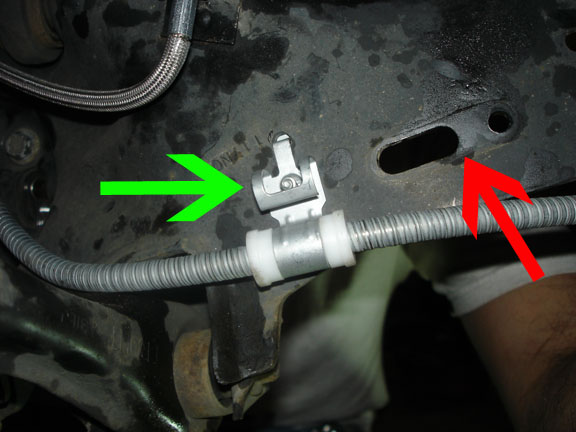
 - The new e-brake cable holder is pointed with the green arrow, Red arrow shows were the old e-brake cable use to go.
Use the same screw that came off the old e-brake cable.
 - This is how it looks after you attached the new e-brake cable holder.
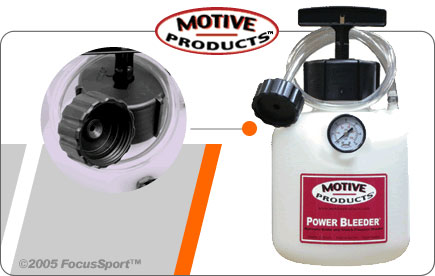
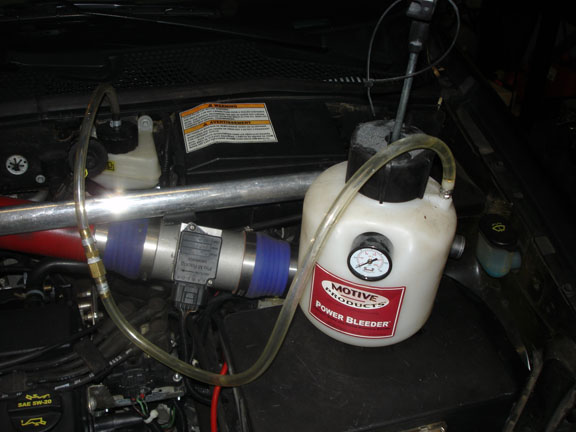
 - Now you are ready for bleeding the brake system.
 - You can use any method you like, speed bleeders or what i use is the Brake Line Bleeder Kit that i borrow from a friend.
I'm guessing is the same one sold by focussport.
These instructions were made by
PRTurboZX3
|